combaba.com now supports Private Networking feature for your VPS server hosting at no additional cost. This setup is fully automated so you don't have to manually configure any network configuration.
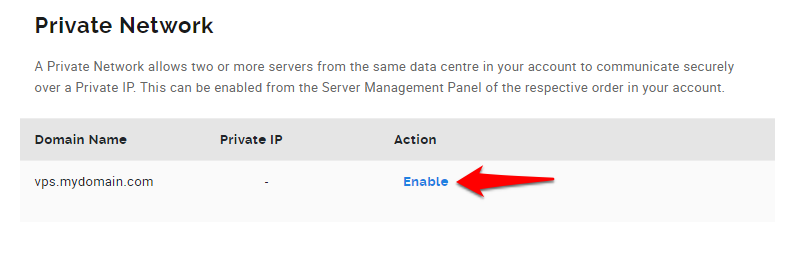
A Private Network allows two or more servers under same customer account and hosted at the same data center, to communicate securely over Private IPs. This can be enabled from the Server Management Panel of the respective order in your account.
Private Network can be used for a secured Server-to-Server Communication, Master-Slave setup, Cluster setup, Replications, and internal Migrations.
Follow the steps below to assign a private IP to your server.
Step 1: Login to your VPS Order management panel. Learn how.
Step 2: Navigate to the Private Network page
In the Server Management Panel, click on the menu and click on Private Network.

Step 3: Enable the Private Network
Click on Enable and the system will assign a private IP to your server.

This is how your network interface configuration will look after you have enabled this feature. Each VPS order under your account will get its own private IP that you can use for private communication.

